Installation guidelines for pitched roofs - building a warm attic
|
|
Inspect the condition of the old loft (insulation and structures). If the old construction and insulation are in good condition, add new insulation layers on top of it. If they are wet or mouldy , remove them. If there is moisture damage, pay special attention to the structure itself and repair if needed. Make sure that the loft joist system is airtight for moisture transmitting from below. Seal all lead-throughs. Level the old insulation if needed.
|
|
|
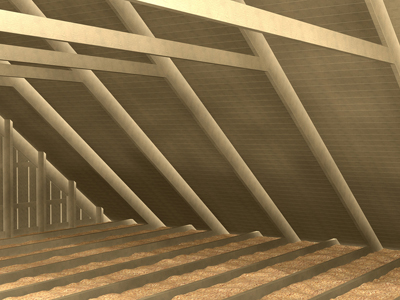
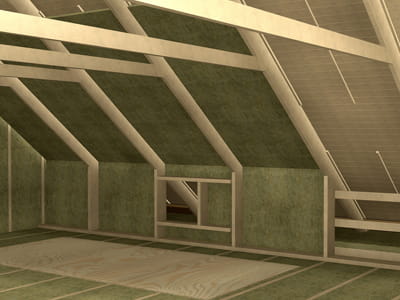
Install wind diverter boards parallel with pitched roof so that the top of the board is at least at 150 mm above the new insulation. Make sure that the air gap between the new insulation and the roof is approximately a minimum of 50 mm.
|
|
|
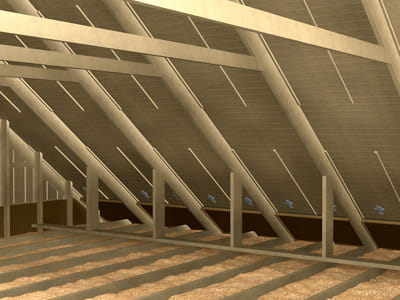
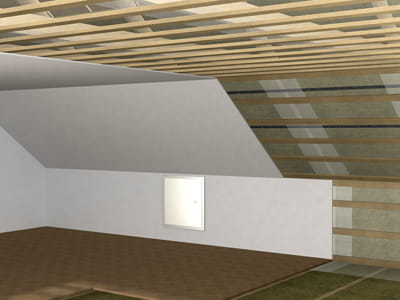
Lay a temporary floor made of plywood or similar material. If necessary, install additional supporting structures, such as additional horizontal floor joists or roof trusses. Prepare space for inspection hatches.
|
|
|
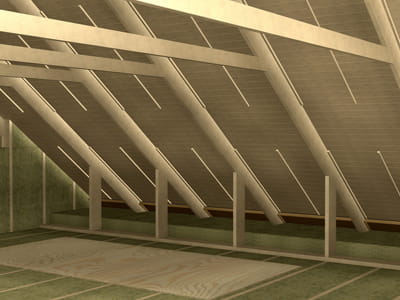
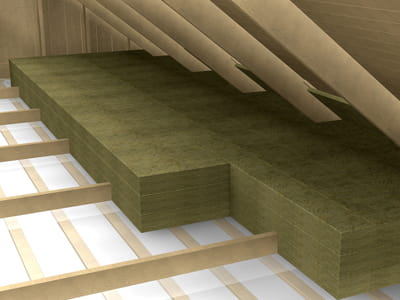
Install PAROC eXtra slabs up to the top level of the floor joists. Avoid gaps with adjacent structures.
|
|
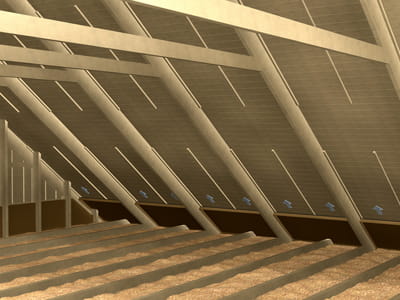
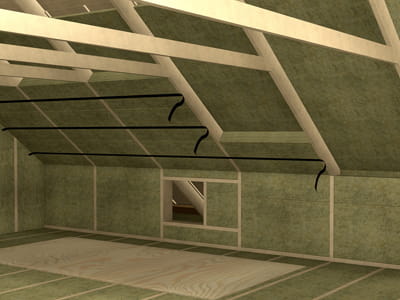
Before installing thermal insulation, take care of wind protection insulation. Install spacers to create a gap of at least 50 mm between the wind protection slabs and the roof structure. Paroc recommends PAROC WAS 25t or PAROC WPS 3n as the wind protection slab.
Cut the covered wind protection slab from the facing side. First install the wind protection slabs against the spacers, starting from the bottom of the wall moving towards the ridge so that it continues at least 150 mm over the planned horizontal insulation layer.
|
|
|
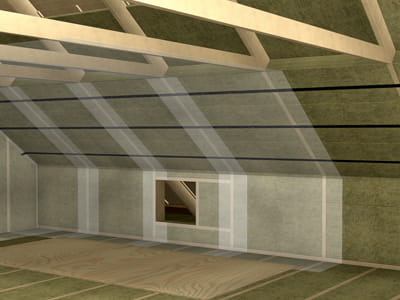
Insulate the space between each timber frame. Start from below. If necessary, use fitting straps (plastic or paper) to hold the insulation in place until you install the vapour barrier.
Note: When installing several layers of PAROC eXtra, remember to overlap the seams.
|
|
|
Fasten PAROC XMV 020 vapour barrier to the timber frame and to the pitched roof. Make sure there is an overlap of at least 200 mm in the seams. Also, make sure that 200 mm of the vapour barrier goes below the floor. Tape up the seams with PAROC XST 020.
If you want to add more energy efficiency, install a cross studding of 50 mm, cc600 and PAROC eXtra slabs. Mount the inner cladding to the floor, walls and pitched roof. Fit a frame around the loft door and inspection hatches. Fit a frame around the loft door.
|
|
|
Insulate the loft ceiling with slabs. Carefully insulate the intersection point of the ceiling and the pitched roof.
|
|
|
If there is no need or possibility to increase energy efficiency as described above, nail up grid siding throughout the loft at a distance of cc 300 mm. Fit the loft door and inspection hatches. Fit a frame around the loft door. Mount the inner cladding to the floor, walls and pitched roof.
Finish room with plaster boards and paint or wallpaper.
|